Showing posts with label Tutorial. Show all posts
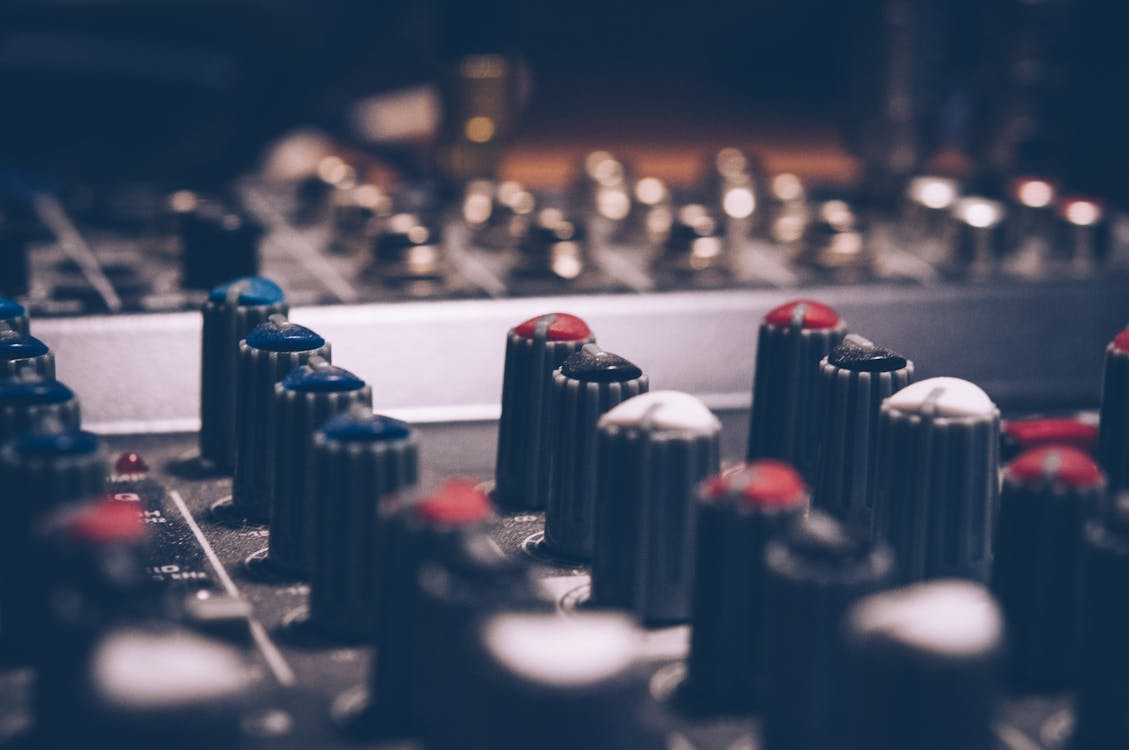
Photo of a Copper Audio Mixer
Chapter 9 MIDI and Electronic Music Technology

A History of MIDI


Fishman Triple Play Wireless Midi Guitar System Jennifer Batten Everything You Need To Know


JEFF RONA - History of MIDI


Michael Brecker Band - Upside Downside - 8161987 - Newport Jazz Festival (Official)


Roland TD-25KVX V-Drums


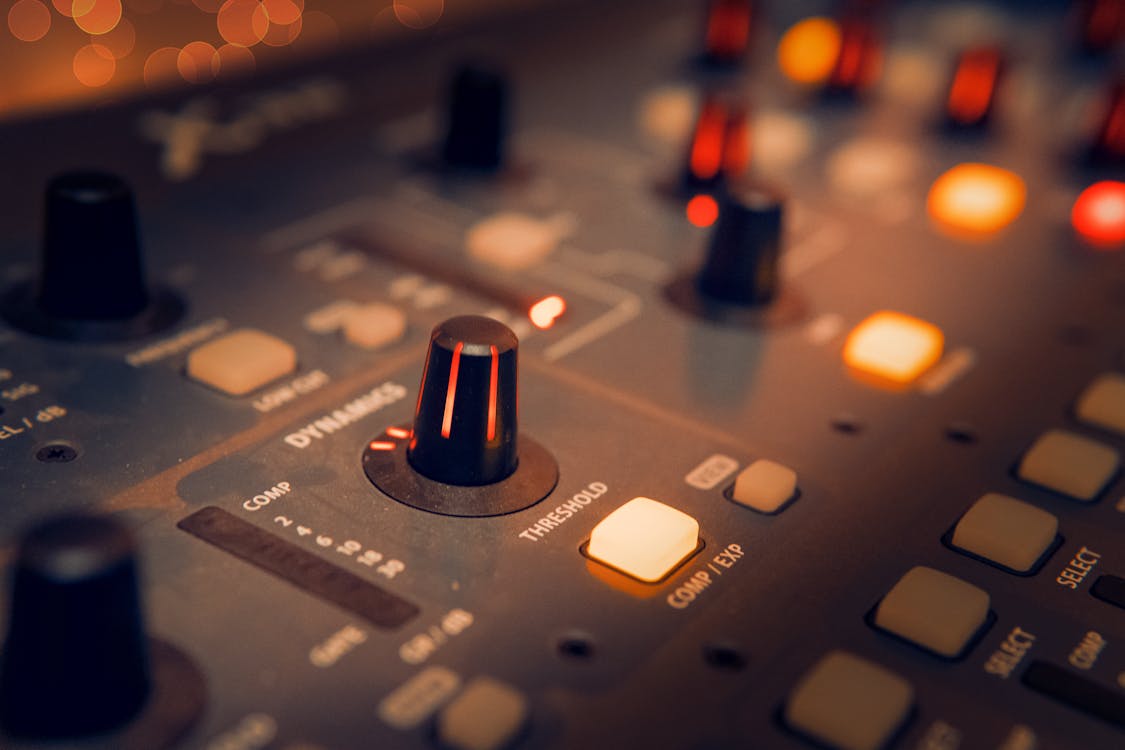
Macro Shot Audio Equalizer
Chapter 8


Pro Tool How to use warp markers lynda.com tutorial


Pro Tools Chopping Audio Using Beat Detective WinkSound


Roland TR-08 Rhythm Composer Demo — Knobcon 2017


Setting up ReWire with Pro Tools and Ableton Live


The BEST method for chopping samples In Pro Tools Pro Tools Beat Making Tutorial


Beginner's Guide to EQ (part 1)


Beginner's Guide to EQ (part 2)


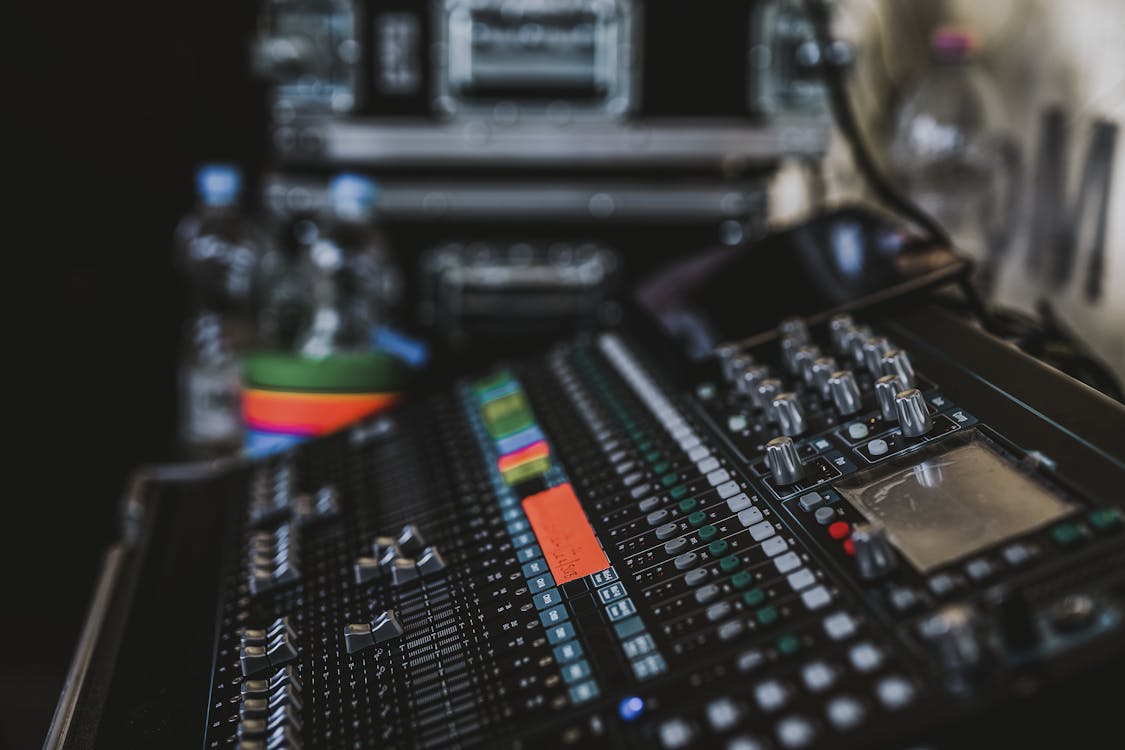
Black Audio Mixer
Working on Studio One Software:
Week6_T2_Upload.zip Download Here

Power Point

Inspector


MP1_S1_EditingTools


MP1_S1_Transport


MPI_S1_Zooming

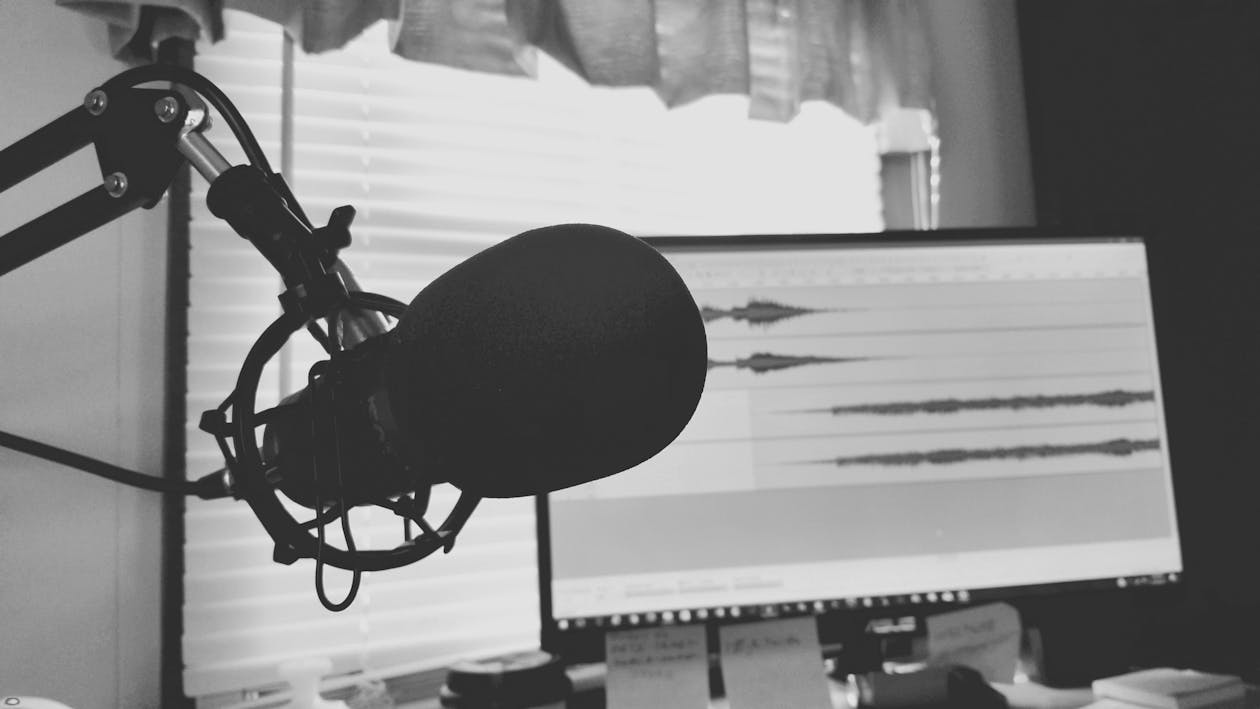
Greyscale Photography Of Condenser Microphone

Chapter 3 Power Point


Chapter 3 Video:

GIK Acoustics Early First Reflection Points


GIK Acoustics How Diffusion Diffusor Works


GIK Acoustics The Basics, Bass traps, Diffusion, Panels


Rockwool sound absorber


What Are The Best Sound Damping Materials &How Do They Work


Mini Assignment:
Reasecher the Microphone from the list:
  • SM57
  • SM58
  • AKG D112
  • Audix D6
  • Rode NT1-A
  • sE X1 S
  • Sennheiser
    • e825
    • e604
    • e608

Include the following:
  1. Picture of the Mic
  2. Cost
  3. Frequency chart
  4. Max SPL level
  5. Best use(s)

Black and Gray Audio Mixer

Course Description
An introductory course in music production using a digital audio workstation. Students will be introduced to standard audio recording and production techniques as well as basic audio theory.   

Learning Outcomes
• You will be able to mix audio
• You will be able to demonstrate basic audio theory
• You will be able to demonstrate basic microphone placement
• you will learn to record and mix using industry standard software
• You will demonstrate the ability to critically listen to sound recordings
• You will learn the basics of MIDI (musical instrument digital interface) recording

Textbook
Huber, D. M., & Runstein, R. E. (2018). Modern Recording Techniques: Focal Press.
Book Click Here

Course Materials  
• Audio Interface, Microphone, and Headphones

Free Software
• Avid First (Light version of Pro Tools) http://apps.avid.com/ProToolsFirst/
• Presonus Studio One 4 Prime: https://shop.presonus.com/Studio-One-4-Prime
• Noteflight Notation Online https://www.noteflight.com/
• Finale Notepad www.finalemusic.com/products/finale-notepad/
Links
Studio One Expert: https://www.pro-tools-expert.com/studio-one-expert http://www.pensadosplace.tv/ http://www.pro-tools-expert.com/ http://www.avid.com/US/ http://www.avidblogs.com/music/ http://community.avid.com/ Produce like a pro (youtube channel): https://www.youtube.com/channel/UCpyUGZeMUtOvt57UACw3H2g How speakers make sound: http://animagraffs.com/loudspeaker/

Music Production
*Course Schedule - Step Study by Study*
Study 1_________________________________________________MRT - Chapter 1 – Introduction

Study 2____________________________________________MRT - Chapter 2 – Sound and Hearing

Study 3____________________________________MRT - Chapter 3 – Sound Acoustics and Design

Study 4______________________________MRT - Chapter 4 – Microphones: design and application

Study 5___________________MRT - Chapter 5 - The Analog Tap Recorder Microphone Assignment
Chapter 6 – Digital Audio Technology Digital Audio Storage
MRT – Chapter 7 – The Digital Audio Workstation Overview of DAW’s
DAW Project

Study 6_________________Introduction to DAW’s – An overview Introduction to Studio One Prime

Study 7 __________________________MRT - Chapter 8 – Groove Tools and Technology Project #1

Study 8_____________________________MRT - Chapter 9 – MIDI and Electric Music Technology

Study 9__________________________________MRT – Chapter 10 – The iOS in Music Production
Chapter 11 – Multimedia and the Web

Study 10___________________________________________MRT - Chapter 15 – Signal Processing
MRT - Chapter 17 – The Art and Technology of Mixing

Study 11_______________________________MRT - Chapter 18 – Monitoring Monitor Assignment

Study 12_________________________________________________MRT - Chapter 20 – Mastering

Study 13___________________________MRT - Chapter 21 – Product Manufacture and Distribution

Study 14_______________________________________MRT - Chapter 21 – Studio Tips and Tricks

Study 15_______________________________MRT - Chapter 22 – Yesterday, Today and Tomorrow

Study 16____________________________________________________________Final Project Due


Step 1
    you could sign up at: https://fontawesome.com/ to gave you the JS code or simplay by using the code below here (this code is the same for everyone so it doesn't matter to sign up or not):
    <script src="https://kit.fontawesome.com/83495f9eaa.js" crossorigin="anonymous"></script>
Step 2
place the code right after the HTML <head>: Example:
<html>
  <head>
    <!-- Place your kit's code here -->
    <script src="https://kit.fontawesome.com/83495f9eaa.js" crossorigin="anonymous"></script>
  </head>

  <body>
    <!-- Ready to use Font Awesome. Activate interlock. Dynotherms - connected. Infracells - up. Icons are go! -->
  </body>
</html>

Step 3:

all code that you use from Font Awesome now should work property without any miss

Python M08

Agenda - Dictionaries and Sets

Learning Objectives:
General ObjectivesPython Specific Objectives
Associative Data StructuresDictionaries in Python
Set OperationsSet and Frozenset Types in Python
Hexidecimal Numbers
Computer Simulation
Test Drivers/Text Stubs
Activities:
  1.  Read Chapter 9 of Dierbach
  2. Complete weekly laboratory exercise
  3. View the accompanying videos
  4. Complete Module 08 Study Guide
  5. Read any related materials

1523 Video Tutorial Module 08 Python Dictionaries Preliminaries:


1523 Video Tutorial Module 08 Python Dictionaries Application

Python M07

M07 - Agenda:

Objectives

  • Define an organization of elementary data into a data structure
  • Assignment elements to a list type data structure when creating the list
  • Utilize the append  function to add items to a list
  • Utilize the delete function to remove items from a list
  • Develop code which utilizes tuples
  • Explain the difference between a tuple and a list.
  • Write Python programs utilizing lists and tuples
Agenda
  1. Read Punch, Chapter 7,
  2. Video on Lists and Tuples
  3. Complete the Module 07 Study Guide
  4. Complete the in class laboratory

M07 - Lists Arrays, Lists and Tuples Tutorial Video #1


Add this code before </body>
Change the light light to your own
test on different Theme work sussfully.

facebook Icon live chat look:


"""

<!-- Overlay and Back To Top -->
  <div class='back-top' title='Back to Top'/>
<!-- GetButton.io widget -->
<script type='text/javascript'>
    (function () {
        var options = {
            facebook: &quot;Your Page ID Number&quot;, // Facebook page ID
            call_to_action: &quot;Live Chat&quot;, // Call to action
            position: &quot;right&quot;, // Position may be &#39;right&#39; or &#39;left&#39;
        };
        var proto = document.location.protocol, host = &quot;getbutton.io&quot;, url = proto + &quot;//static.&quot; + host;
        var s = document.createElement(&#39;script&#39;); s.type = &#39;text/javascript&#39;; s.async = true; s.src = url + &#39;/widget-send-button/js/init.js&#39;;
        s.onload = function () { WhWidgetSendButton.init(host, proto, options); };
        var x = document.getElementsByTagName(&#39;script&#39;)[0]; x.parentNode.insertBefore(s, x);
    })();
</script>
<!-- /GetButton.io widget -->

"""
This video is part of my College Music Class
Video is embed from Youtube

Pellentesque habitant morbi tristique senectus et netus et malesuada fames ac turpis egestas. Vestibulum tortor quam, feugiat vitae, ultricies eget, tempor sit amet, ante. Donec eu libero sit amet quam egestas semper. Aenean ultricies mi vitae est. Mauris placerat eleifend leo.

Pellentesque habitant morbi tristique senectus et netus et malesuada fames ac turpis egestas. Vestibulum tortor quam, feugiat vitae, ultricies eget, tempor sit amet, ante. Donec eu libero sit amet quam egestas semper. Aenean ultricies mi vitae est. Mauris placerat eleifend leo.
Here Post Template That I have Edit And Customize. You May Edit Anyway You Like.
Enjoy!
"""
<div class="separator" style="clear: both; text-align: center;">
<iframe allowfullscreen="" class="YOUTUBE-iframe-video" data-thumbnail-src="https://i.ytimg.com/vi/RIcAfodHxIs/0.jpg" frameborder="0" height="266" src="https://www.youtube.com/embed/RIcAfodHxIs?feature=player_embedded" width="320"></iframe></div>
<br />
<div class="post-body entry-content" id="post-body-4183563664269847957">
<br />
<div style="text-align: center;">
Dont FOr get to share with your family and friends!<br />
<br />
<br />
<div class="post-information3">
<div class="addthis_sharing_toolbox" data-description="      Dont FOr get to share with your family and friends!     AddThis Sharing Buttons Share to Facebook Facebook Share to Twitter Twitter Sh..." data-title="Post Template" data-url="https://hmoobdub.blogspot.com/2020/04/post-template.html" style="clear: both;">
<div aria-labelledby="at-d3cb05d0-b356-4b6c-9962-39b9eaa6f430" class="at-share-tbx-element addthis-smartlayers addthis-animated at4-show" id="atstbx" role="region">
<span class="at4-visually-hidden" id="at-d3cb05d0-b356-4b6c-9962-39b9eaa6f430">AddThis Sharing Buttons</span>

<br />
<div class="at-share-btn-elements">
<a class="at-icon-wrapper at-share-btn at-svc-facebook" href="https://www.blogger.com/null" role="button" style="background-color: #3b5998; border-radius: 0%;" tabindex="0"><span class="at4-visually-hidden">Share to Facebook</span></a>

<a class="at-icon-wrapper at-share-btn at-svc-Messenger" href="https://www.blogger.com/null" role="button" style="background-color: #0084ff; border-radius: 0%;" tabindex="0"><span class="at4-visually-hidden">Share to Messenger</span></a>

<a class="at-icon-wrapper at-share-btn at-svc-twitter" href="https://www.blogger.com/null" role="button" style="background-color: #1da1f2; border-radius: 0%;" tabindex="0"><span class="at4-visually-hidden">Share to Twitter</span></a>

<a class="at-icon-wrapper at-share-btn at-svc-print" href="https://www.blogger.com/null" role="button" style="background-color: #738a8d; border-radius: 0%;" tabindex="0"><span class="at4-visually-hidden">Share to Print</span></a>

<a class="at-icon-wrapper at-share-btn at-svc-email" href="https://www.blogger.com/null" role="button" style="background-color: #848484; border-radius: 0%;" tabindex="0"><span class="at4-visually-hidden">Share to Email</span></a>

<a class="at-icon-wrapper at-share-btn at-svc-pinterest_share" href="https://www.blogger.com/null" role="button" style="background-color: #cb2027; border-radius: 0%;" tabindex="0"><span class="at4-visually-hidden">Share to Pinterest</span></a>

<a class="at-icon-wrapper at-share-btn at-svc-gmail" href="https://www.blogger.com/null" role="button" style="background-color: #db4437; border-radius: 0%;" tabindex="0"><span class="at4-visually-hidden">Share to Gmail</span></a>

<a class="at-icon-wrapper at-share-btn at-svc-compact" href="https://www.blogger.com/null" role="button" style="background-color: #ff6550; border-radius: 0%;" tabindex="0"><span class="at4-visually-hidden">Share to More</span></a><span class="at_flat_counter" style="font-size: 11.4px; line-height: 32px;"></span>
</div>
</div>
</div>
</div>
<br />
<br />
<br />
<div class="separator" style="clear: both; text-align: center;">
<a href="https://th.bing.com/th?id=OIP.sELOQx2UOsBJACbR86_kCgHaFP&amp;pid=Api&amp;rs=1" imageanchor="1" style="clear: left; float: left; margin-bottom: 1em; margin-right: 1em;"><img border="0" data-original-height="335" data-original-width="474" height="226" src="https://th.bing.com/th?id=OIP.sELOQx2UOsBJACbR86_kCgHaFP&amp;pid=Api&amp;rs=1" width="320" /></a></div>
This moview is about&nbsp;The left-to-right mark (LRM) is a control character (an invisible formatting character) used in computerized typesetting (including word processing in a program like Microsoft Word) of text that contains a mixture of left-to-right text (such as English or Russian) and right-to-left text (such as Arabic, Persian or Hebrew).<br />
<br />
This moview is about&nbsp;The left-to-right mark (LRM) is a control character (an invisible formatting character) used in computerized typesetting (including word processing in a program like Microsoft Word) of text that contains a mixture of left-to-right text (such as English or Russian) and right-to-left text (such as Arabic, Persian or Hebrew).<br />
<br />
This moview is about&nbsp;The left-to-right mark (LRM) is a control character (an invisible formatting character) used in computerized typesetting (including word processing in a program like Microsoft Word) of text that contains a mixture of left-to-right text (such as English or Russian) and right-to-left text (such as Arabic, Persian or Hebrew).<br />
<br />
This moview is about&nbsp;The left-to-right mark (LRM) is a control character (an invisible formatting character) used in computerized typesetting (including word processing in a program like Microsoft Word) of text that contains a mixture of left-to-right text (such as English or Russian) and right-to-left text (such as Arabic, Persian or Hebrew).<br />
<br />
This moview is about&nbsp;The left-to-right mark (LRM) is a control character (an invisible formatting character) used in computerized typesetting (including word processing in a program like Microsoft Word) of text that contains a mixture of left-to-right text (such as English or Russian) and right-to-left text (such as Arabic, Persian or Hebrew).<br />
<br />
This moview is about&nbsp;The left-to-right mark (LRM) is a control character (an invisible formatting character) used in computerized typesetting (including word processing in a program like Microsoft Word) of text that contains a mixture of left-to-right text (such as English or Russian) and right-to-left text (such as Arabic, Persian or Hebrew).</div>
<div style="display: block; margin: 15px auto; text-align: center;">
</div>
<div style="clear: both;">
</div>
</div>

"""


Example:


Dont FOr get to share with your family and friends!


This moview is about The left-to-right mark (LRM) is a control character (an invisible formatting character) used in computerized typesetting (including word processing in a program like Microsoft Word) of text that contains a mixture of left-to-right text (such as English or Russian) and right-to-left text (such as Arabic, Persian or Hebrew).

This moview is about The left-to-right mark (LRM) is a control character (an invisible formatting character) used in computerized typesetting (including word processing in a program like Microsoft Word) of text that contains a mixture of left-to-right text (such as English or Russian) and right-to-left text (such as Arabic, Persian or Hebrew).

This moview is about The left-to-right mark (LRM) is a control character (an invisible formatting character) used in computerized typesetting (including word processing in a program like Microsoft Word) of text that contains a mixture of left-to-right text (such as English or Russian) and right-to-left text (such as Arabic, Persian or Hebrew).

This moview is about The left-to-right mark (LRM) is a control character (an invisible formatting character) used in computerized typesetting (including word processing in a program like Microsoft Word) of text that contains a mixture of left-to-right text (such as English or Russian) and right-to-left text (such as Arabic, Persian or Hebrew).

This moview is about The left-to-right mark (LRM) is a control character (an invisible formatting character) used in computerized typesetting (including word processing in a program like Microsoft Word) of text that contains a mixture of left-to-right text (such as English or Russian) and right-to-left text (such as Arabic, Persian or Hebrew).

This moview is about The left-to-right mark (LRM) is a control character (an invisible formatting character) used in computerized typesetting (including word processing in a program like Microsoft Word) of text that contains a mixture of left-to-right text (such as English or Russian) and right-to-left text (such as Arabic, Persian or Hebrew).